- Awards
- 38
Introducción:
Este tutorial es para cualquiera que planee agregar y registrar nuevos monstruos en los activos del cliente del protocolo 12.xx.
El sistema se basó y creó para funcionar con la base de la versión 12.61 de OTBR , que puede variar o no con versiones futuras.
Si tienes otro repositorio, este sistema no funcionará y nadie aquí te ofrecerá soporte para adaptarlo a tu base, si quieres utilizar esta herramienta
Será necesario utilizar la base OTBR , estando atento a futuras actualizaciones para mejoras y correcciones cuando sea necesario.
Esto afectará a los sistemas que usan monstruos con sus imágenes y nombre para sus características específicas, como bestiario, sistema de prey criatura impulsada, caza de tareas y otros.
NOTA: No afecta nada con respecto a los sprites, para eso puedes usar otras herramientas como Assets Editor, etc.
Después de leer la introducción, comenzaremos agregando el script al servidor OTBR.
El sistema está hecho para funcionar dentro del juego a través de una 'acción de conversación', pero esto es solo el comienzo del proceso, el resto lo tendremos que hacer manualmente fuera del cliente.
Primero insertamos la acción de conversación en el servidor:
Vaya a data/scripts/talkactions/god, cree un archivo .lua con el nombre que desee y pegue el siguiente código:
Código:
local hex_monster = {
    author = "Marcosvf132",
    date = "19/02/2021",
    version = "1.0",
    organization = "###### OTServ-Br #####",
    objective = " [OTServ-Br 12.x project] \
        Export hex code to create and insert custom creatures on the client protocol 12.xx \
        This system will create a '.txt' file with all the monsters bytes, to insert it on the client you will need to do it \
        manually using a Hex editor (HxD is a good option). \
        -> With this script the user can insert custom monsters with any outfit on bestiary, prey and boosted creature.\
        -> This script was created to work with OTBR repository, this probably won't work with other repository, so don't ask support for it. \
        -> Created based on the client 12.61 protocol, future protocols may have some problems, if so, seek for updates on the OTBR Forum. \
        -> Important note: This script reads all monsters that have raceId registered on the server, if you wan't to remove, edit or create monsters on the client \
            you need to just remove/edit/add it on their repective '.lua' \
        --> The .txt file will be created on /data/ folder -'hex-monster.txt'-. "
}

local hexmonster = TalkAction("/hexmonster")

local function randomValueToHex(nValue)
    return string.format("%2X ", nValue)
end

local function bigDecimalTohex(value)
    local value = bit.bor(value, 0)
    local jumpEscape = value < 64
    local result = ""
    while (true) do
        local byte = bit.band(value, 0x7f)
        value = bit.rshift(value, 7)
        if ((value == 0) and ((bit.band(byte, 0x40)) == 0)) or ((value == -1) and ((bit.band(byte, 0x40)) ~= 0)) then
            if byte < 10 then
                result = result .. " 0" .. tostring(tonumber(randomValueToHex(tostring(byte)))):gsub("%s+", "") .. " "
            elseif byte < 16 then
                result = result .. " 0" .. randomValueToHex(byte):gsub("%s+", "") .. " "
            else
                result = result .. " " .. randomValueToHex(byte):gsub("%s+", "") .. " "
            end
            result = result:gsub("  ", " ")
            return result
        end
        local borBit = bit.bor(byte, 0x80)
        if borBit < 10 then
            result = result .. " 0" .. tostring(tonumber(randomValueToHex(tostring(borBit)))):gsub("%s+", "") .. " "
        elseif borBit < 16 then
            result = result .. " 0" .. randomValueToHex(borBit):gsub("%s+", "") .. " "
        else
            result = result .. " " .. randomValueToHex(borBit):gsub("%s+", "") .. " "
        end
        jumpEscape = false
    end
end

local function retNumberToHex(look_value)
    local ret = look_value > 64 and tostring(randomValueToHex(look_value)) or randomValueToHex(look_value)
    if look_value < 16 then
        ret = ret:gsub("%s+", "")
        ret = "0" .. ret
    end
    return ret
end

local function stringTextToHexChar(str)
    return (str:gsub('.', function (c)
        return string.format('%02X ', string.byte(c))
    end))
end

local function numberToHex(value)
    local ret = tostring(randomValueToHex(tostring(value))):gsub("%s+", "")
    if value < 10 then
        ret = "0" .. tonumber(ret)
    elseif value < 16 then
        ret = retNumberToHex(value)
    end
    return ret
end

function hexmonster.onSay(player, words, param)
    if not player:getGroup():getAccess() or player:getAccountType() < ACCOUNT_TYPE_GOD then
        return true
    end

    local alreadyImplementedRaceId = {}
    local file = io.open("data/hex-monster.txt", "wb")
    if file then
        for index, monsterName in pairs(Game.getBestiaryList()) do
            local mType = MonsterType(monsterName)
            if mType and not(table.contains(alreadyImplementedRaceId, mType:raceId())) then
                local name = mType:name():lower()
                local outfit = mType:outfit()
                local monsterid_bit = bigDecimalTohex(mType:raceId())
                local nameDigits = numberToHex(string.len(name))
                local lookt_bit = bigDecimalTohex(outfit.lookType)
                local looka_bot = numberToHex(outfit.lookAddons)
                local lookh_bot = outfit.lookHead < 128 and numberToHex(outfit.lookHead) or (numberToHex(outfit.lookHead) .. " 01")
                local lookb_bot = outfit.lookBody < 128 and numberToHex(outfit.lookBody) or (numberToHex(outfit.lookBody) .. " 01")
                local lookl_bot = outfit.lookLegs < 128 and numberToHex(outfit.lookLegs) or (numberToHex(outfit.lookLegs) .. " 01")
                local lookf_bot = outfit.lookFeet < 128 and numberToHex(outfit.lookFeet) or (numberToHex(outfit.lookFeet) .. " 01")

                local counter_09 = 0
                if outfit.lookType < 128 then
                    lookt_bit = " " .. numberToHex(outfit.lookType) .. " "
                end
                if outfit.lookHead >= 128 then
                    lookh_bot = numberToHex(outfit.lookHead - 19)
                end
                if outfit.lookBody >= 128 then
                    counter_09 = counter_09 + 1
                end
                if outfit.lookLegs >= 128 then
                    counter_09 = counter_09 + 1
                    if counter_09 > 1 then
                        counter_09 = counter_09 - 1
                        lookl_bot = numberToHex(outfit.lookLegs - 19)
                    end
                end
                if outfit.lookFeet >= 128 then
                    counter_09 = counter_09 + 1
                    if counter_09 > 1 then
                        counter_09 = counter_09 - 1
                        lookf_bot = numberToHex(outfit.lookFeet - 19)
                    end
                end
                local byteIncrease = "08"
                if counter_09 > 0 then
                    byteIncrease = "09"
                end
                local look_case = ""
                if counter_09 > 0 then
                    look_case = "10"
                else
                    if outfit.lookType < 128 then
                        look_case = "0E"
                    else
                        look_case = "0F"
                    end
                end
                local stringHex, size_bit, return_hex = "", "", ""
                if outfit.lookType == 0 and outfit.lookTypeEx ~= 0 then
                    local looke_bit = ItemType(outfit.lookTypeEx) and ItemType(outfit.lookTypeEx):getClientId() or 0
                    stringHex = " 08" .. monsterid_bit .. "12 " .. nameDigits .. " " .. stringTextToHexChar(name) .. "1A 03 20" .. bigDecimalTohex(looke_bit)
                    size_bit = numberToHex(string.len(stringHex:gsub("%s+", ""))/2)
                    return_hex = "0A " .. size_bit .. stringHex .. " "
                elseif outfit.lookTypeEx == 0 then
                    stringHex = " 08" .. monsterid_bit .. "12 " .. nameDigits .. " " .. stringTextToHexChar(name) .. "1A ".. look_case .. " 08" .. lookt_bit .. "12"
                    stringHex = stringHex .. " " .. byteIncrease .. " 08 " .. lookh_bot ..  " 10 " .. lookb_bot .. " 18 " .. lookl_bot .. " 20 " .. lookf_bot .. " 18 " .. looka_bot
                    size_bit = numberToHex(string.len(stringHex:gsub("%s+", ""))/2)
                    return_hex = "0A " .. size_bit .. stringHex .. " "
                end
                table.insert(alreadyImplementedRaceId, mType:raceId())
                return_hex = return_hex:gsub("  ", " ")
                file:write(return_hex)
            end
        end
        player:sendCancelMessage("Data file has been succesfully created.")
        io.close(file)
    end
    return true
end

hexmonster:separator(" ")
hexmonster:register()
Guarde el archivo y reinicie el servidor, hecho que ya tenemos el script listo para usar.
Añadiendo monstruos:
Primero elegiremos el id del monstruo (raceid):
El ID de monstruo es único, es decir, no puede entrar en conflicto con otro monstruo, por esta razón es necesario establecer valores que sabemos que no se utilizan.
Hasta ahora, los ID que ya están registrados en el cliente oficial comienzan en 2 y terminan con aproximadamente 2200, por este motivo es recomendable
empezar a utilizar valores lejanos, dando cabida a futuros monstruos oficiales que se irán añadiendo a esta lista.
Si estás editando tu servidor por completo y quieres rehacer todos los monstruos del primero al último, entonces puedes hacer tu propia secuencia
según el .lua de tus monstruos, respetando la regla de que no es posible tener más de uno. monstruo por ID .
Agregar un monstruo es muy simple, solo necesitas registrarlo en el bestiario, para hacer esto solo inserta la siguiente información en la luna de los monstruos, ejemplo:
Código:
monster.raceId = xxxx --  La identificación del monstruo ( ID )
monster.Bestiary = { -- Los siguientes datos no son necessarios, ya sabemos lo que es.
    class = "Demon", -- Nombre de la raza del monstruo
    race = BESTY_RACE_DEMON, -- ID de la raza del monstruo
    toKill = xxxxx, -- Cantidad para matar
    FirstUnlock = xx, -- Cantidad para desbloquear el Tier 1
    SecondUnlock = xxx, -- Cantidad para desbloquear el Tier 2
    CharmsPoints = xx, -- Cantidad de Charm Points
    Stars = x, -- Numero de estrellas del monstruo
    Occurrence = x, -- Difficultad del monstruo
    Locations = "Temple of hate." -- Despricion del monstruo en el bestiario
    }

-- Anotaciones:
--  "class"                "race"
-- "Amphibic"            - BESTY_RACE_AMPHIBIC
-- "Aquatic"            - BESTY_RACE_AQUATIC
-- "Bird"            - BESTY_RACE_BIRD
-- "Construct"            - BESTY_RACE_CONSTRUCT
-- "Demon"            - BESTY_RACE_DEMON
-- "Dragon"            - BESTY_RACE_DRAGON
-- "Elemental"            - BESTY_RACE_ELEMENTAL
-- "Extra Dimensional"        - BESTY_RACE_EXTRA_DIMENSIONAL
-- "Fey"             - BESTY_RACE_FEY
-- "Giant"            - BESTY_RACE_GIANT
-- "Humanoid"             - BESTY_RACE_HUMANOID
-- "Human"             - BESTY_RACE_HUMAN
-- "Lycanthrope"         - BESTY_RACE_LYCANTHROPE
-- "Magical"             - BESTY_RACE_MAGICAL
-- "Mammal"             - BESTY_RACE_MAMMAL
-- "Plant"             - BESTY_RACE_PLANT
-- "Reptile"             - BESTY_RACE_REPTILE
-- "Slime"             - BESTY_RACE_SLIME
-- "Undead"             - BESTY_RACE_UNDEAD
-- "Vermin"             - BESTY_RACE_VERMIN
Una vez hecho esto con todos los monstruos que quieras insertar en el cliente, reinicia el servidor para que quede registrado en el servidor y, una vez reiniciado, pasa al siguiente paso.
Editando un monstruo:
Cualquier cambio que haya en los monstruos .lua se introducirá automáticamente en el sistema, que luego llevará esos cambios al cliente con los siguientes pasos.
Ejecutando el sistema:
El guión está destinado a funcionar como una 'acción de conversación' para ser utilizado por un personaje que tiene acceso DIOS. Una vez con el script instalado
dentro de la carpeta data / scripts / talkactions / god / y los cambios de monstruos ya hechos, reiniciaremos el servidor y, después de reiniciar, ejecutaremos la acción de hablar escribiendo / hexmonster
Una vez hecho esto, debería aparecer el siguiente mensaje en su pantalla:

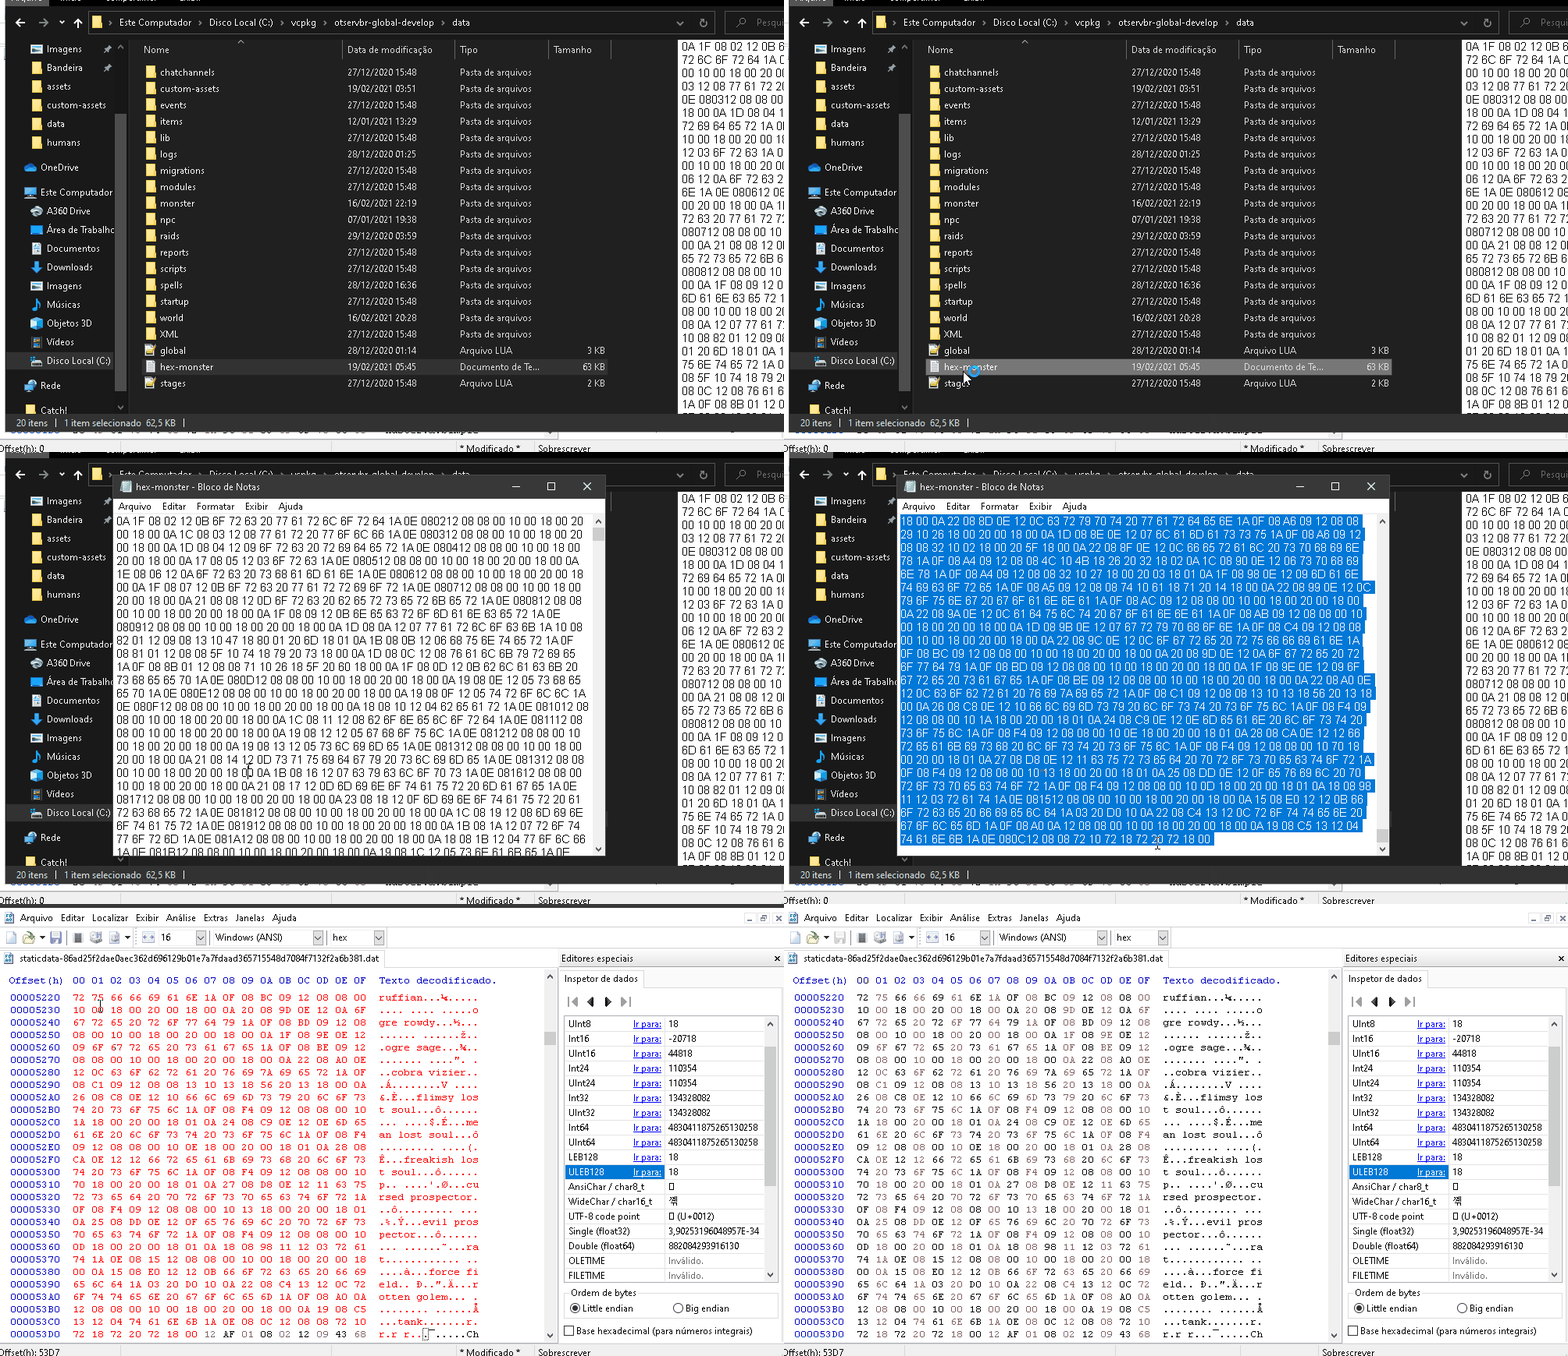
Cuando aparezca este mensaje, se creará el archivo hex-monster.txt en la carpeta / data / :
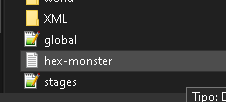
Ingresando los datos en el cliente:
Una vez que se crea el archivo hex-monster.txt , insertaremos los datos en los activos del cliente con un programa editor Hex. En este tutorial usaré el editor HxD :
Identificaremos el archivo donde se encuentran los datos del monstruo. Vaya a la carpeta de su cliente y busque la carpeta de activos, la mía, por ejemplo, está en C: \ Users \ xxxxx \ Desktop \ Tibia Client \ Tibia \ assets .
Dentro de esta carpeta busque el archivo cuyo nombre es staticdata-NUMEROGIANT.dat . Solo hay uno llamado staticdata, por lo que no puede equivocarse.
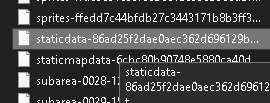
Abra este archivo con el editor HxD y verá esta pantalla al abrir:
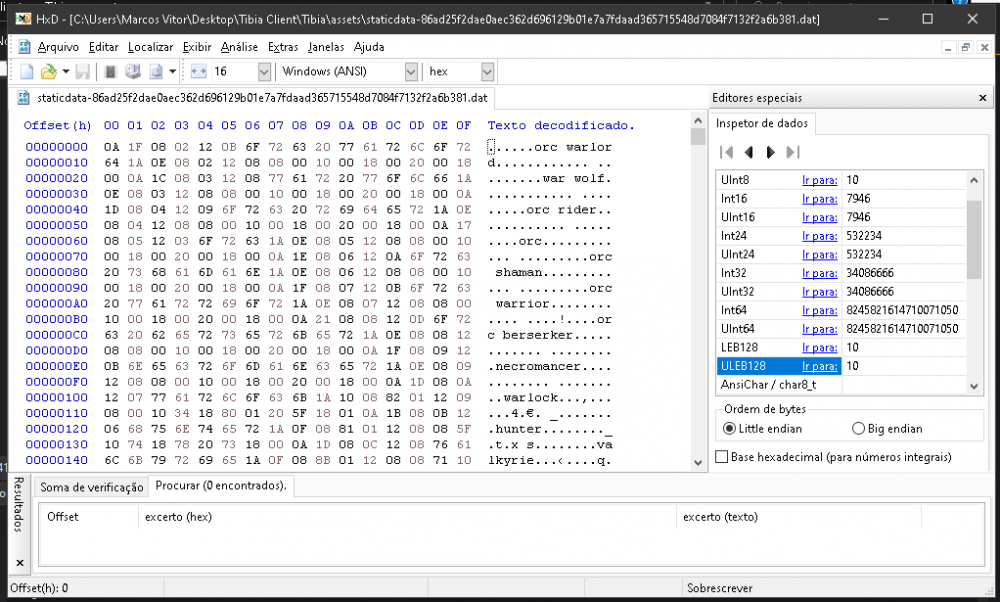
Presione el atajo ctrl + f y busque Chorister :
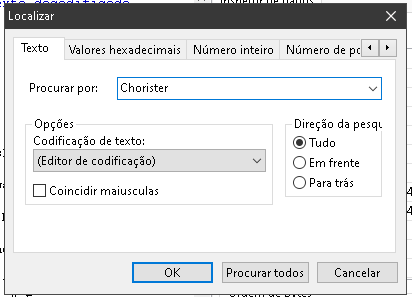
Después de encontrarlo, en la ventana de bytes busque la siguiente secuencia 12 AF 01 08 :

Cuando encuentres esta secuencia, selecciona y borra toda la secuencia que termina en 12 AF 01 08 y va al principio, es decir, de 12 hacia atrás:
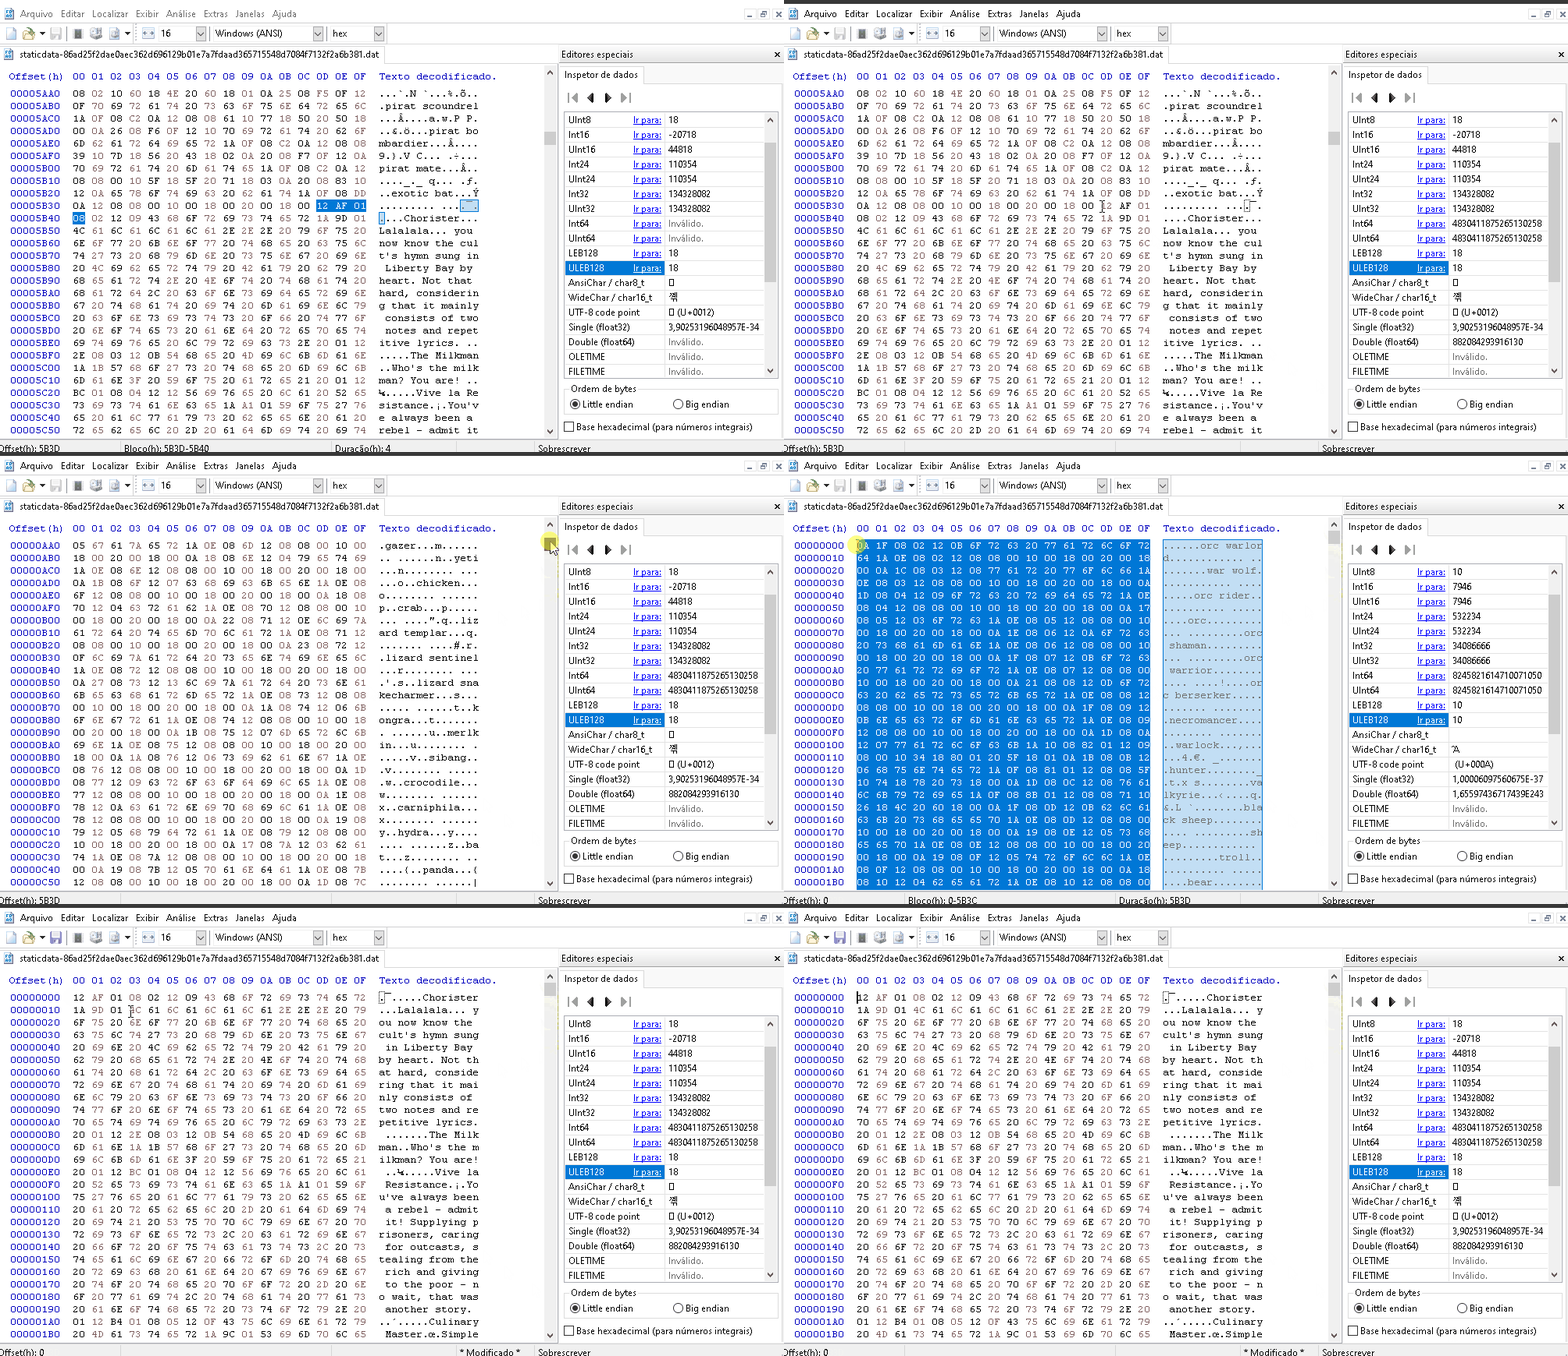
Luego de borrar todos los datos anteriores agregaremos los nuevos valores. Vaya al archivo hex-monster.txt y copie todo lo que contiene. Hecho eso pegar todo
dentro del HxD en la primera fila antes de las 12 AF 01 08 y guardar.
Después de eso tenemos todo listo y configurado. Abra el cliente nuevamente y se realizarán todos los cambios. Abre tu bestiario para comprobar:
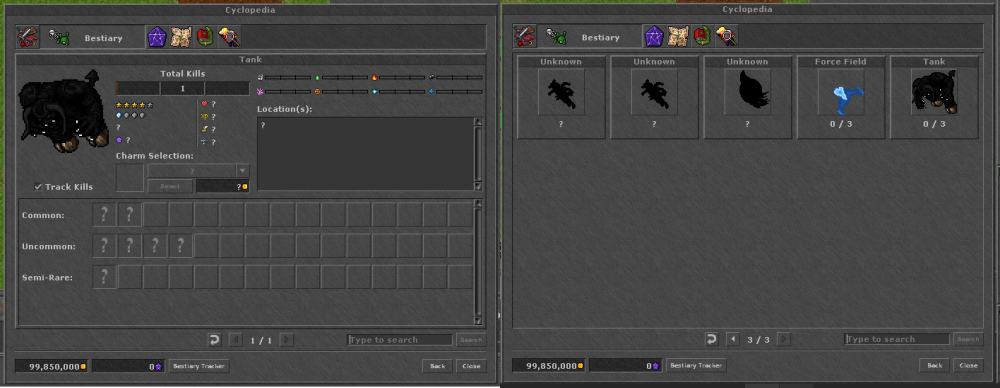
Como se ve en el ejemplo de las dos últimas imágenes, se puede agregar cualquier atuendo en el cliente, incluidos los atuendos que son de los artículos (lookTypeEx) .
Añadiendo a criatura potenciada:
Una vez agregado al bestiario, el monstruo ingresa automáticamente al sistema de 'criatura potenciada'.
Añadiendo al sistema de presas:
El sistema de presas no se realiza de forma automatizada, en este caso debemos agregar el ID del monstruo (raceid) manualmente en la lista de ese sistema.
Primero agregaremos la ID del monstruo (raceid) en el archivo data \ modules \ scripts \ prey_system \ assets.lua

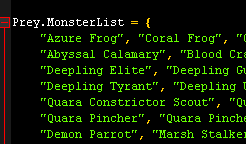
El segundo y último paso es agregar el nombre del monstruo en el archivo data \ modules \ scripts \ prey_system \ prey.lua
Última edición:

